Overview
Prerequisites
Before configuring, make sure you have:1. Install Node.js and npm
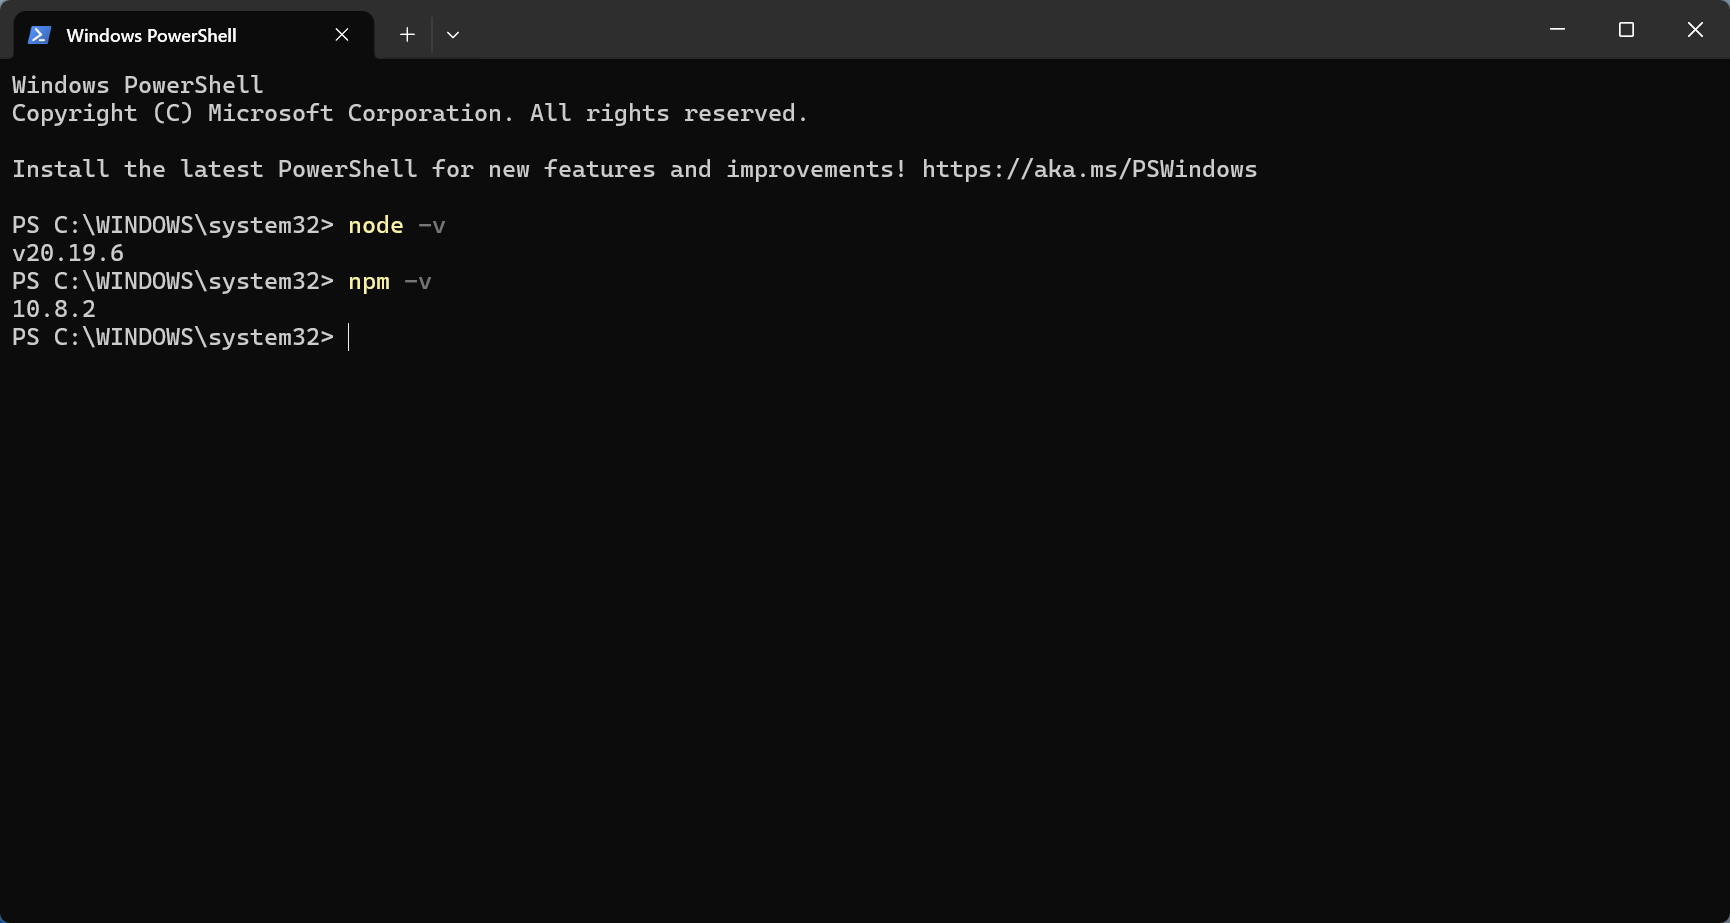
Why needed? Node.js is the runtime environment for CLI tools (like installing WeChat on your phone to chat, you need to install Node.js on your computer to run CLI tools). If already installed: Runnode -v and npm -v to check version. If v20+, skip this step.
First-time installation:
- Download and install from Node.js official website (recommend LTS version)
- If you’re unfamiliar with the installation process, refer to Runoob - Node.js Installation Guide
- Recommended: Node.js v20 or higher
- Verify installation:
2. Get EvoLink API Key
- Log in to EvoLink Dashboard
- Find API Keys in the dashboard, click ‘Create New Key’ button, then copy the generated Key
- API Key usually starts with
sk-
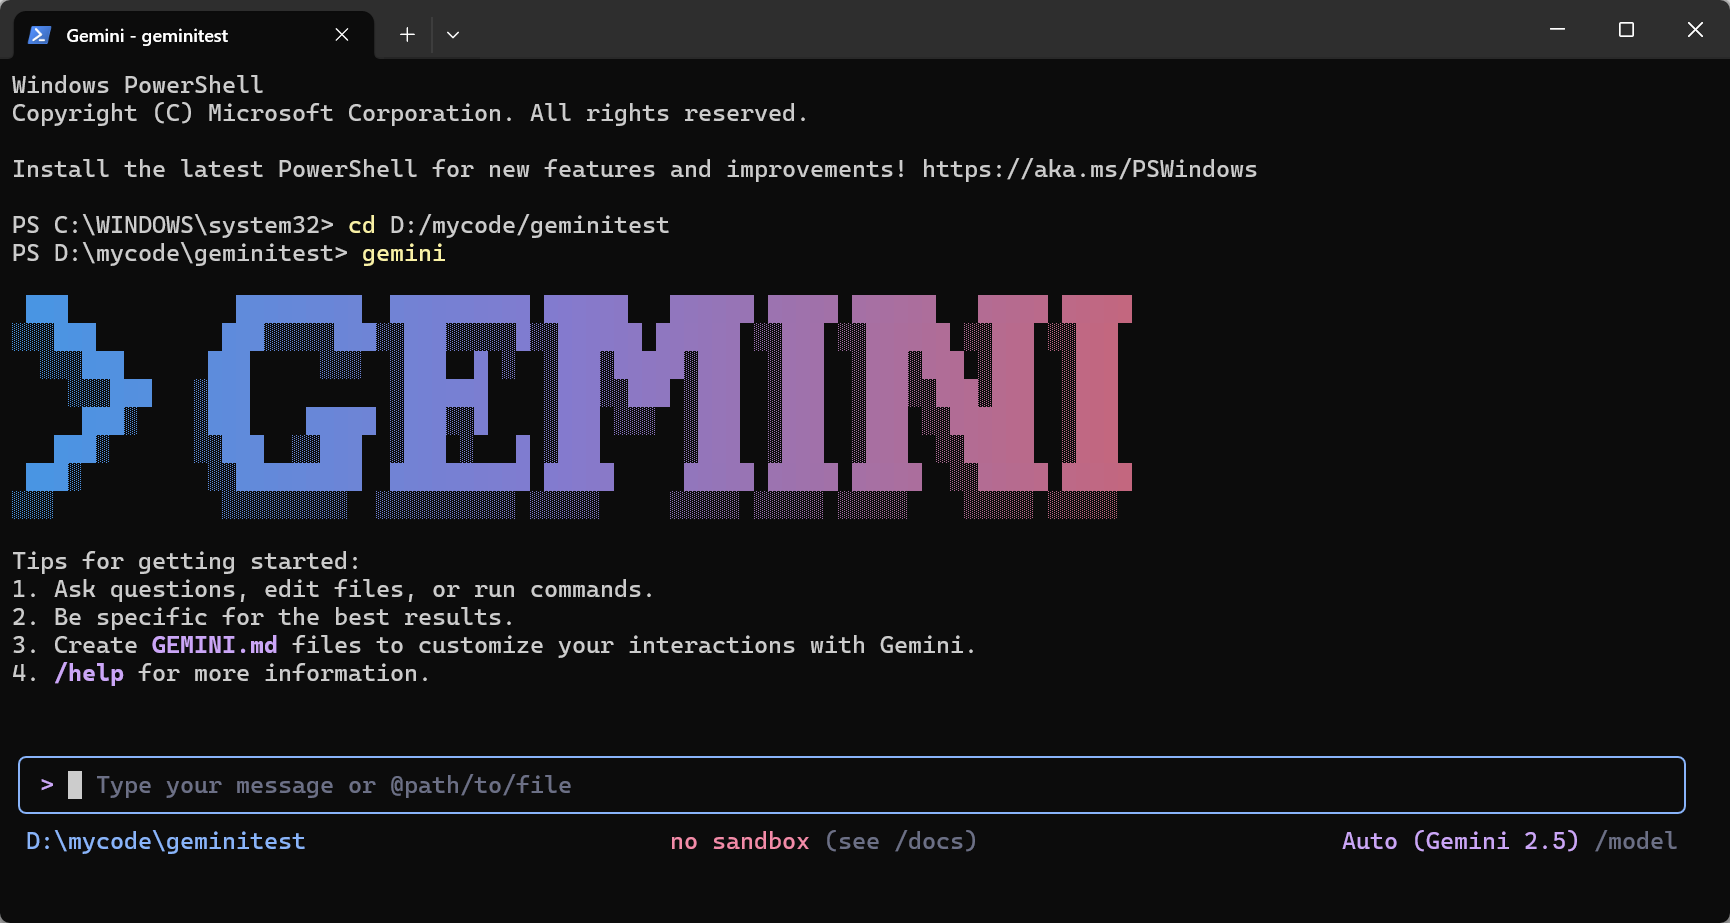
Step 1: Install Gemini CLI
Tip: If you don’t know how to open a command line terminal, see FAQ - How to open command line terminal
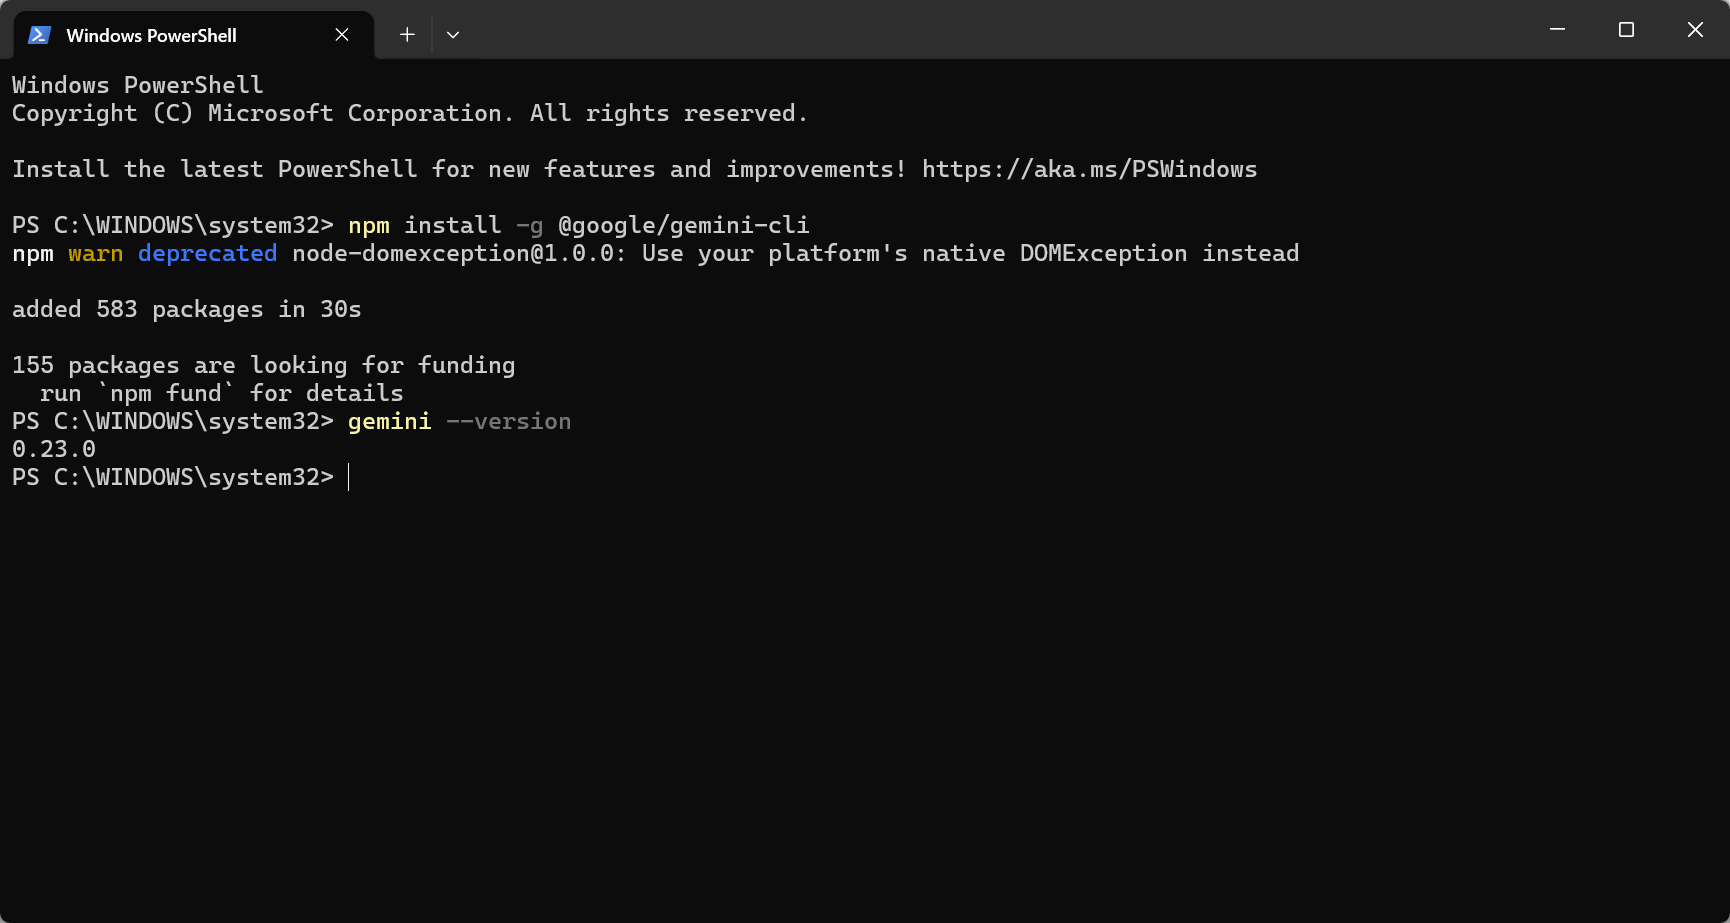
1. Install command
added XX packages (takes 1-3 minutes).
If error occurs: permission denied means Windows needs “Run as administrator” PowerShell, macOS/Linux add sudo before command.
2. Verify Installation
1.x.x).
Step 2: Configure EvoLink API
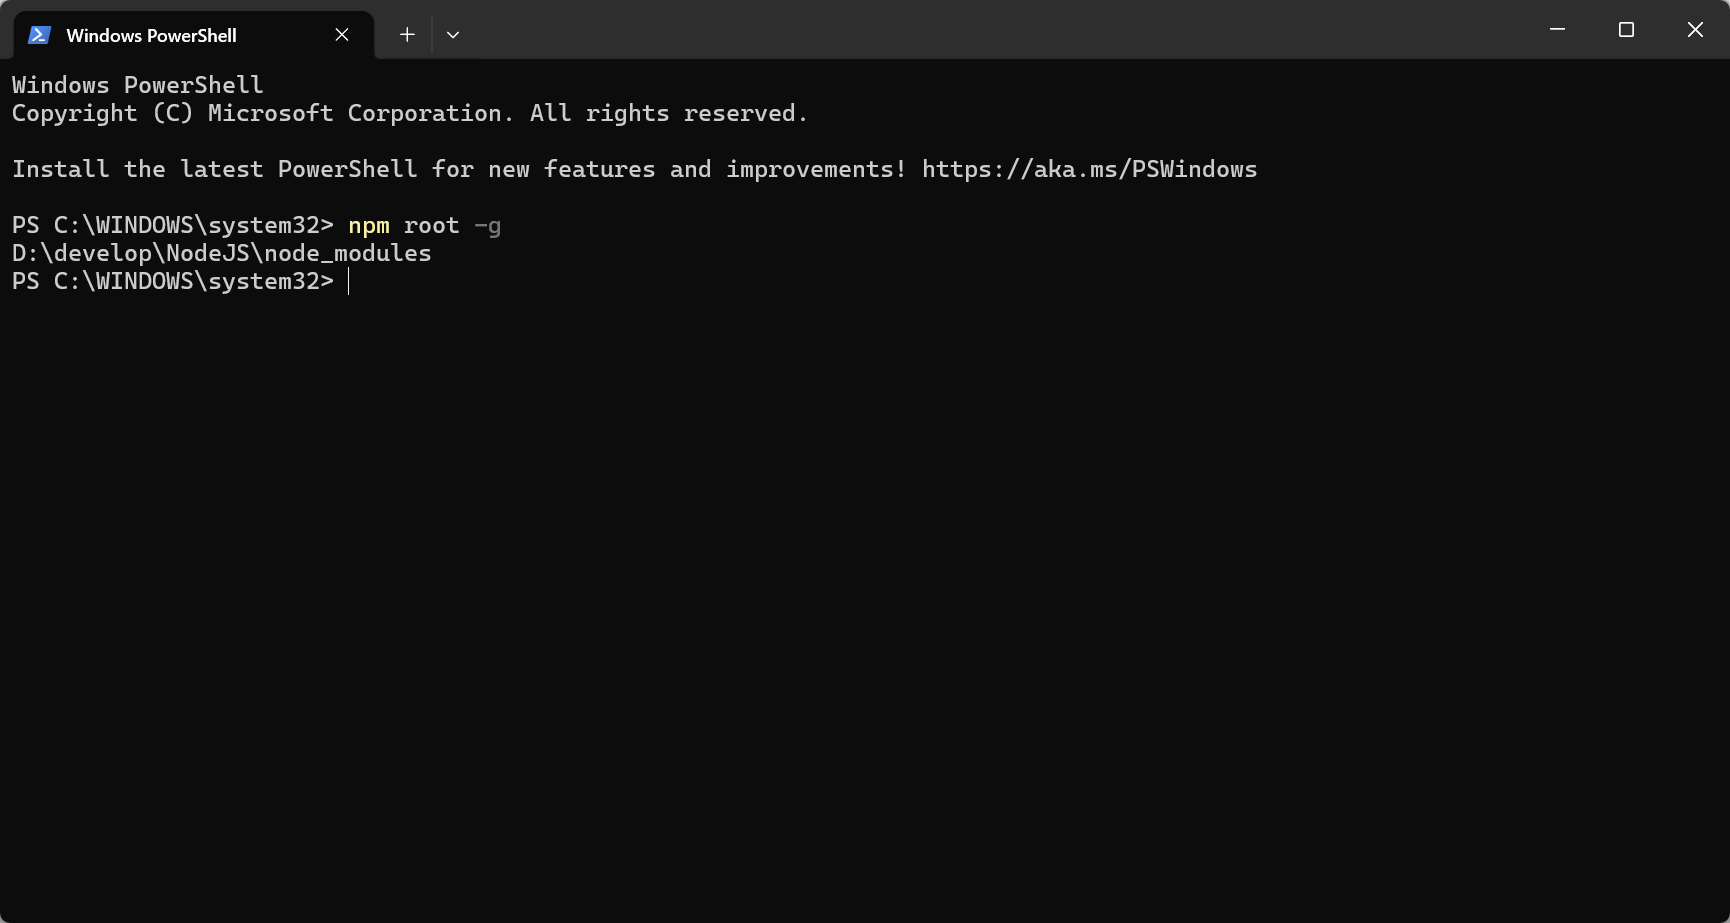
⚠️ Important: Gemini CLI configuration is slightly more complex than other tools, requiring modification of installation files. If you’re new to programming, consider using Claude CLI or Codex CLI first (simpler configuration).1. Find installation directory
- Windows:
C:\Users\YourUsername\AppData\Roaming\npm\node_modules - macOS:
/usr/local/lib/node_modules - Linux:
/usr/lib/node_modules
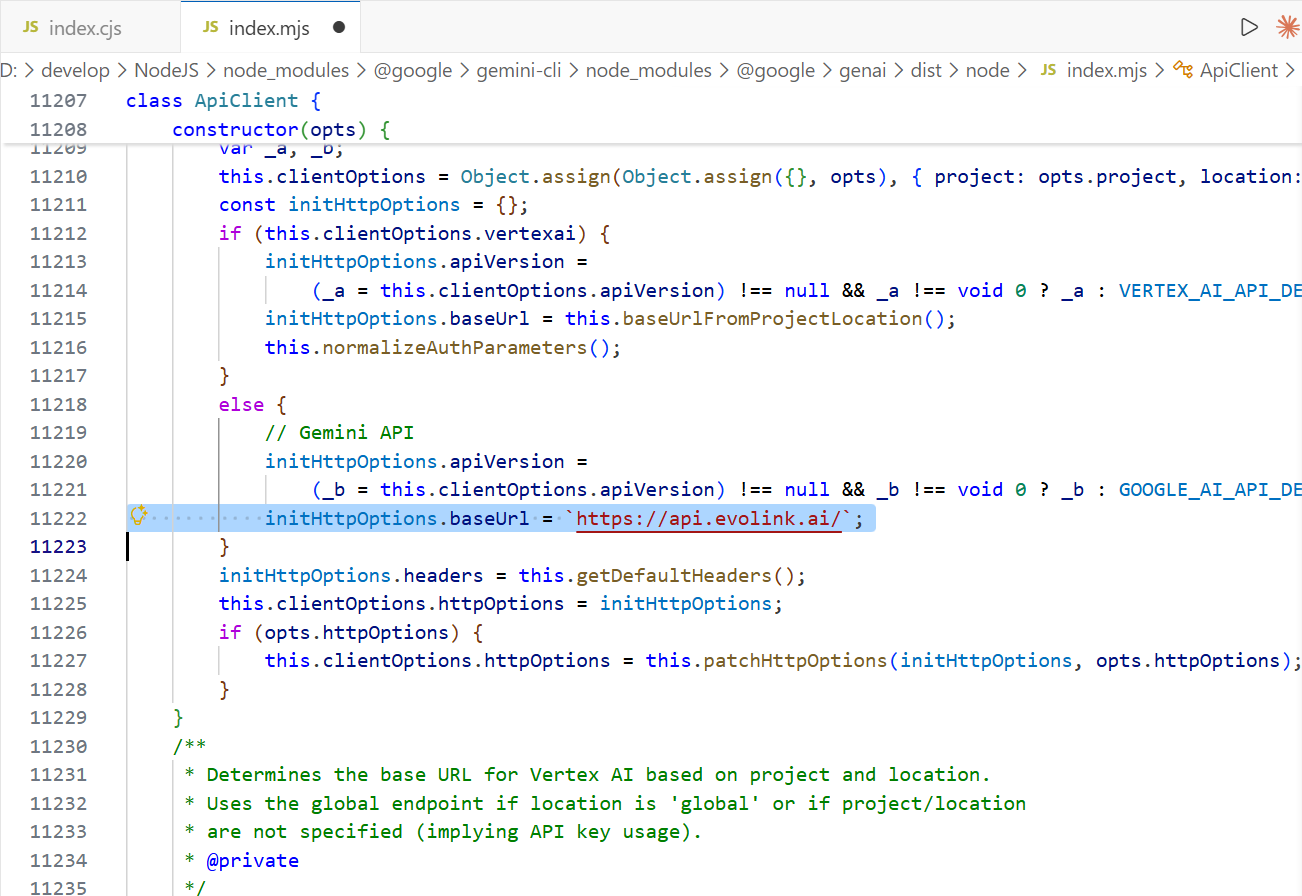
2. Modify API endpoint
Modify 2 files: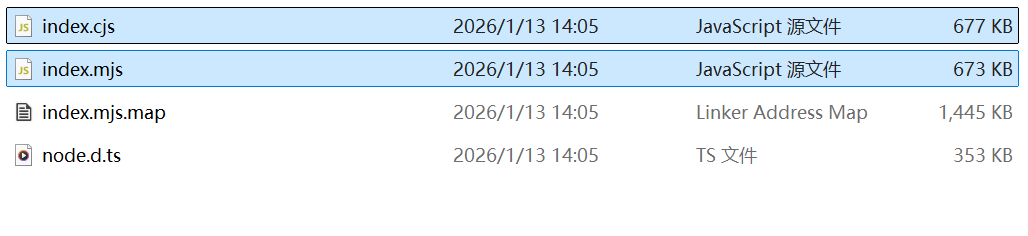
{install_dir}\@google\gemini-cli\node_modules\@google\genai\dist\node\index.mjs
Find line ~11222:
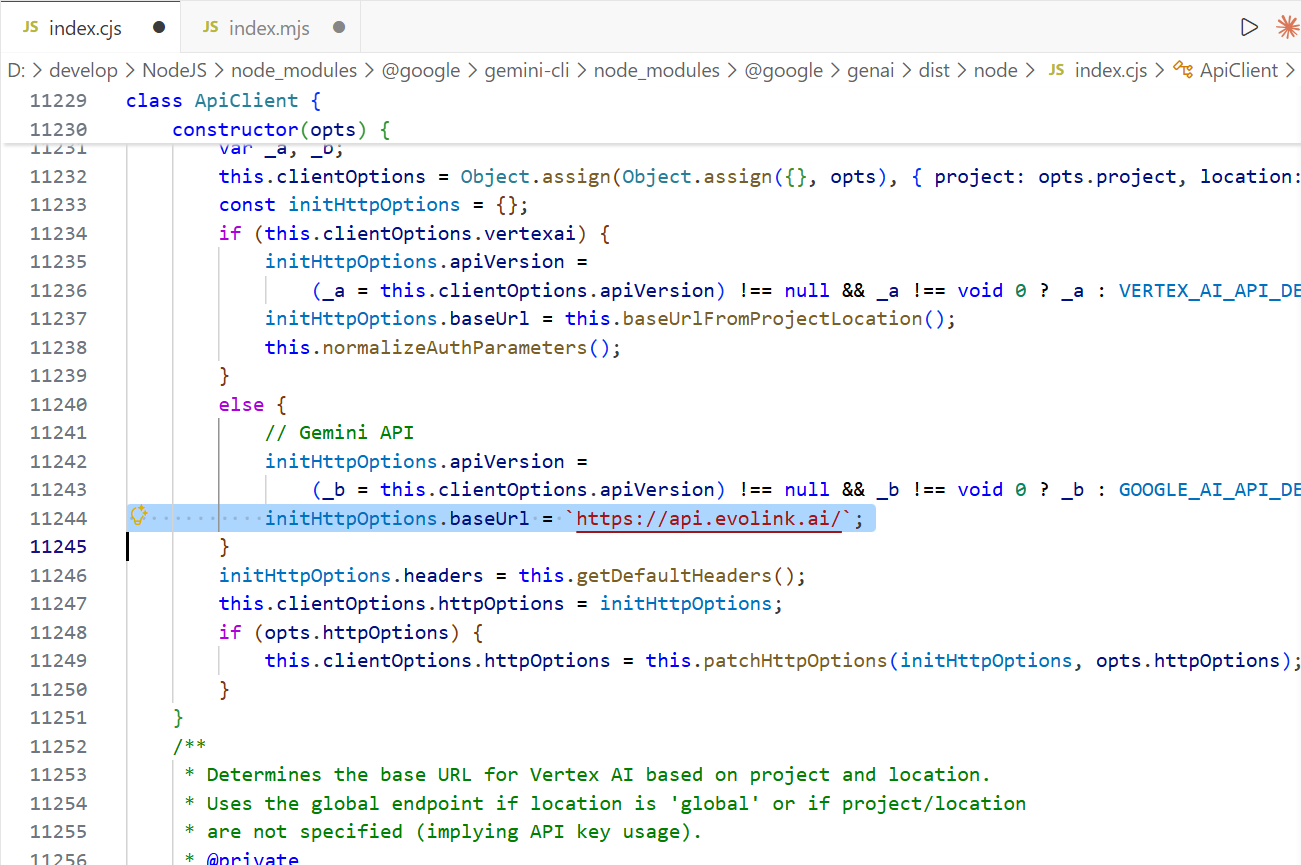
{install_dir}\@google\gemini-cli\node_modules\@google\genai\dist\node\index.cjs
Find line ~11244, make the same change.
3. Configure API Key
- Windows PowerShell
- macOS / Linux
Temporary (current session only)PermanentRestart the terminal for changes to take effect.Verify ConfigurationIf it outputs your API Key, the configuration is successful.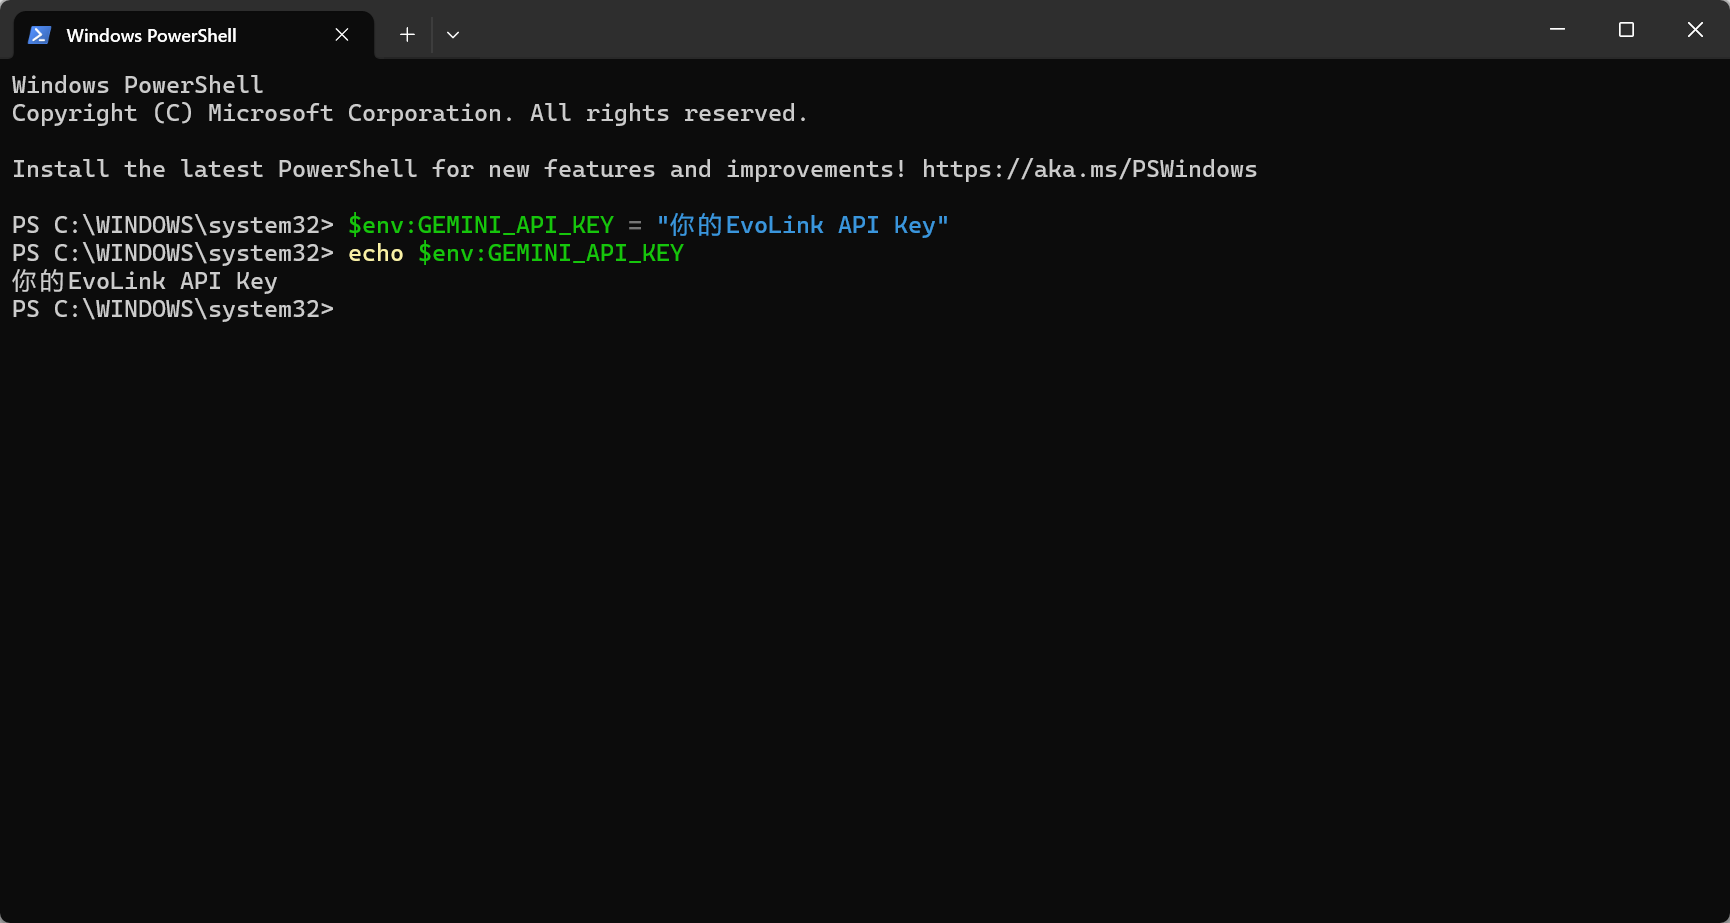
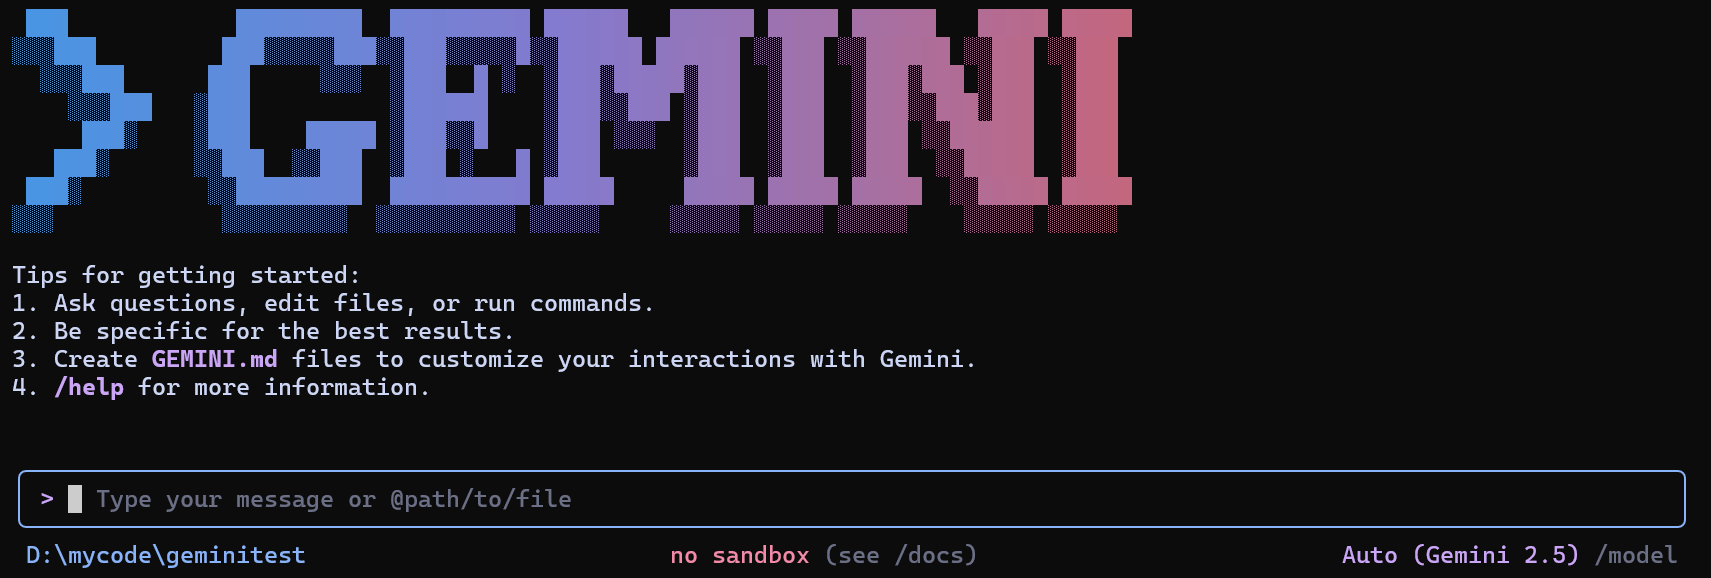
Step 3: Start Using Gemini CLI
1. Enter working directory
your-working-directory with actual path
2. Single query mode
3. Interactive mode
- See AI response text (several lines)
- No errors like
401,403,API Key invalid
401 Unauthorized: API Key not set or invalid → Check environment variable403 Forbidden: Insufficient API Key permissions → Verify API endpoint modificationNetwork error: Network issue → Check connection
FAQ
1. What is Gemini CLI and what is it used for?
Gemini CLI is Google’s official command-line tool for interacting with Gemini models in the terminal. With EvoLink configuration, you can also access GPT, Claude, and other models.2. How do I verify installation and configuration on first use?
Run these commands in sequence:node -vandnpm -v: Confirm Node.js and npm are installedgemini --version: Confirm Gemini CLI is installedgemini "Who are you": Confirm API configuration is correct
3. What’s the difference between interactive mode and single command mode?
- Interactive mode: Run
geminito enter continuous conversation for multi-turn interactions - Single command mode: Run
gemini "question"to get a single response and exit
4. Will Gemini CLI automatically read or upload my local files and code?
No. Gemini CLI only reads file content when you explicitly reference or authorize it. It’s recommended to use it in a dedicated project folder.5. How do I use Gemini CLI to analyze local file content?
In interactive mode, you can reference files by:- Typing the file path for Gemini to read
- Dragging files into the terminal window
6. Does Gemini CLI support Chinese input and output?
Yes, fully supported.7. No output after execution—what could be the cause?
Common causes include:- Network connection issues
- Invalid API Key or insufficient balance
- Incorrect API endpoint configuration
- Firewall or proxy blocking requests
8. Why don’t my API endpoint or environment variable changes take effect?
- Restart your terminal or command line window
- Confirm
GEMINI_API_KEYenvironment variable is set correctly - Confirm API endpoint files are modified correctly (need to modify .mjs and .cjs files in node_modules)
9. What causes 401/403 errors?
- 401 error:
GEMINI_API_KEYnot set or invalid - 403 error: Insufficient permissions or expired key
- Verify API endpoint is
https://direct.evolink.ai/
10. What scenarios is Gemini CLI suited for?
Suited for:- Code writing, debugging, and refactoring
- Quick Q&A in command-line environments
- File content analysis
- Automation script integration
- Complex GUI interactions
- Real-time collaborative editing
- Large-scale batch file processing
11. How do I switch models?
Type/model in interactive mode.
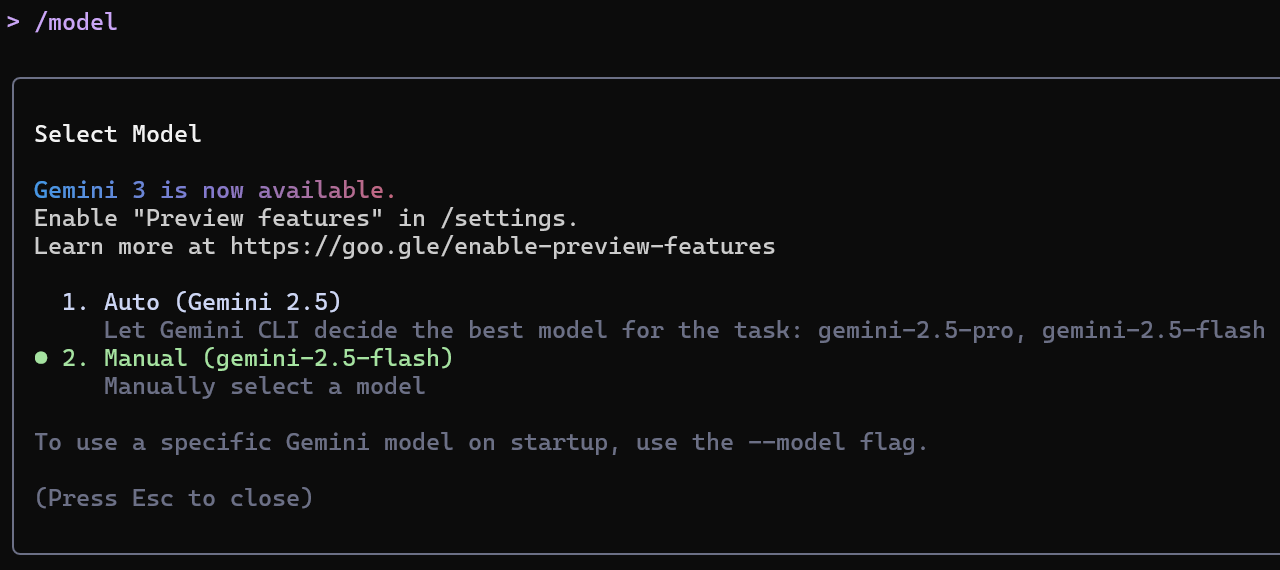
gemini-2.5-progemini-2.5-flashgemini-3-pro-previewgemini-3-flash-preview
12. How do I upload images?
- Option 1: Reference the image path
- Option 2: Drag and drop an image into the terminal
13. How to open command line terminal?
- Windows
- macOS
- Linux
- Method 1: Press
Win + R, typecmdorpowershell, then press Enter - Method 2: Search for “Command Prompt” or “PowerShell” in the Start menu
- Method 3: Hold Shift and right-click in a folder, select “Open PowerShell window here”